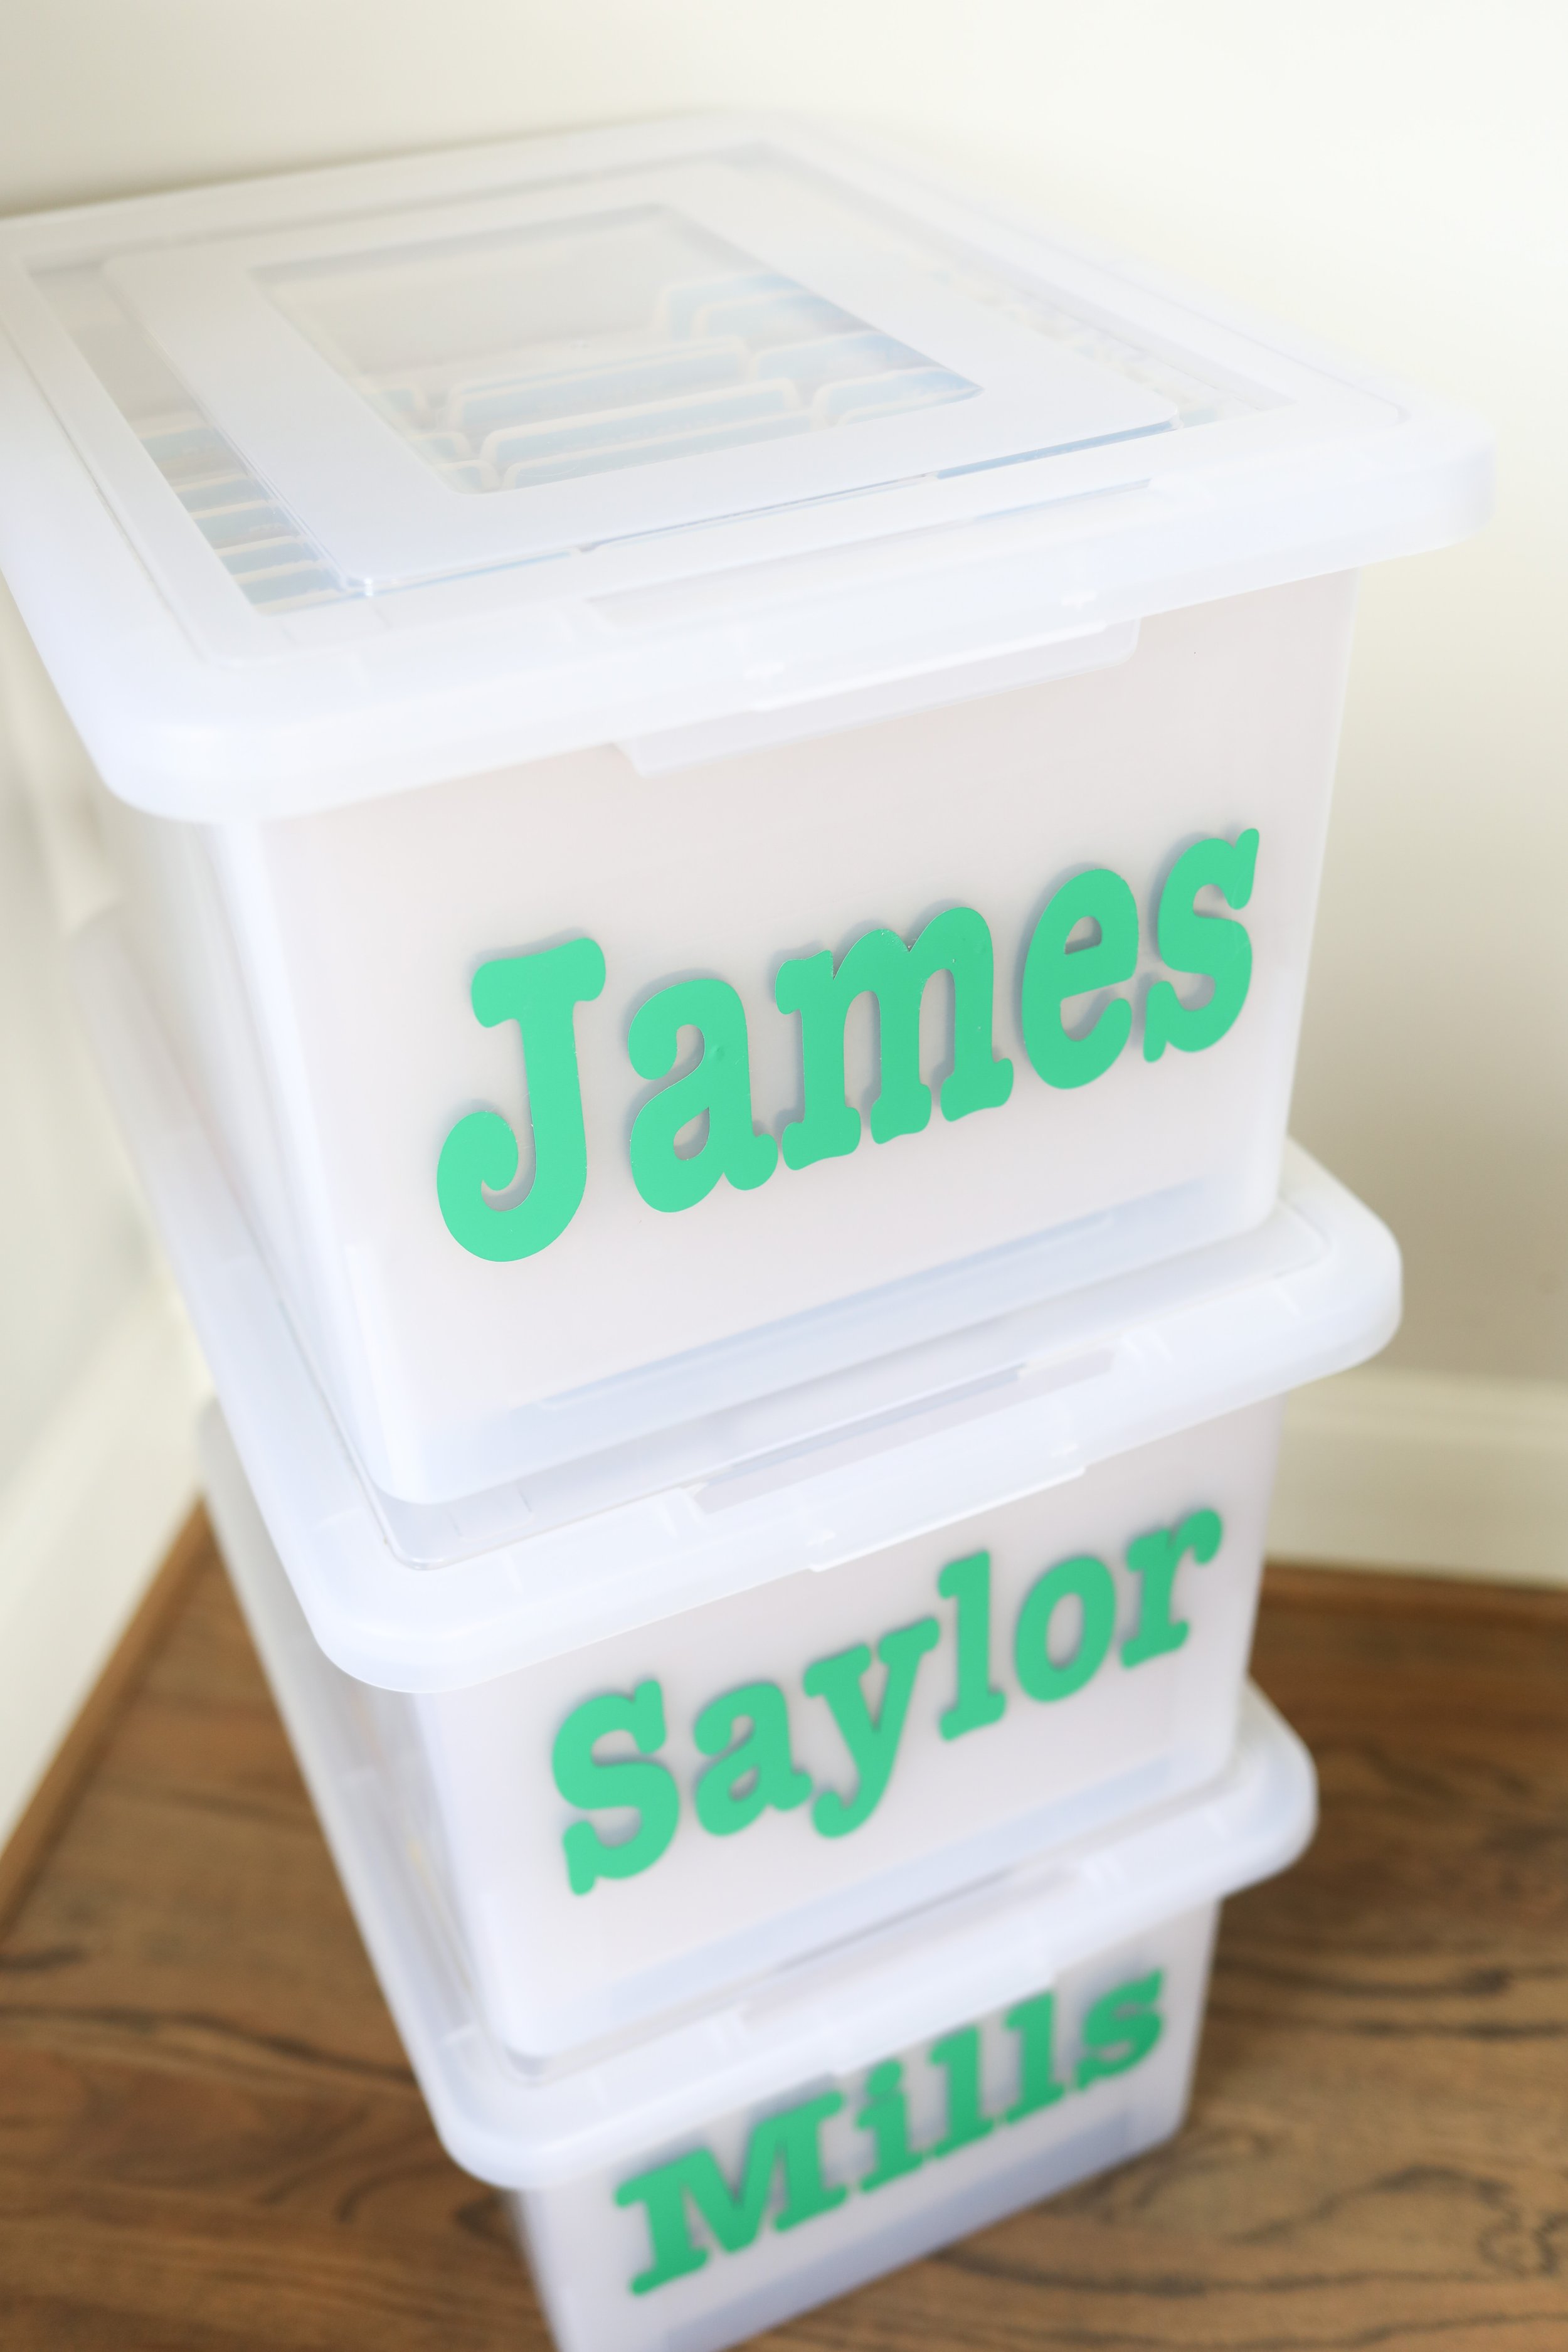
A Filing System for Childhood Memories
Our little ones seem to inundate our home with so much paper. Whether it’s birthday cards or growth charts or handprint art or spelling tests, it’s just nice to have a designated place to keep it all. It’s even better if this place is an organized space (not the junk drawer in your kitchen!). Which is why I decided to create a Childhood Memory Box for each of my boys. The simplicity of this box means no fuss yet lots of organization! As papers come into our home, I simply sort them into the appropriate section of each child’s box. Currently, I keep most everything! As the box grows, I plan to sort through each folder and purge things that aren’t super memorable. I hope this simple filing system helps you take authority over that stack of papers on your countertop once and for all!
Step 1
Gather your supplies. Here’s what you’ll need per child:
Dimensions: 9 3/4 x 3 1/2
Font: American Typewriter
Color: Green
Step 2

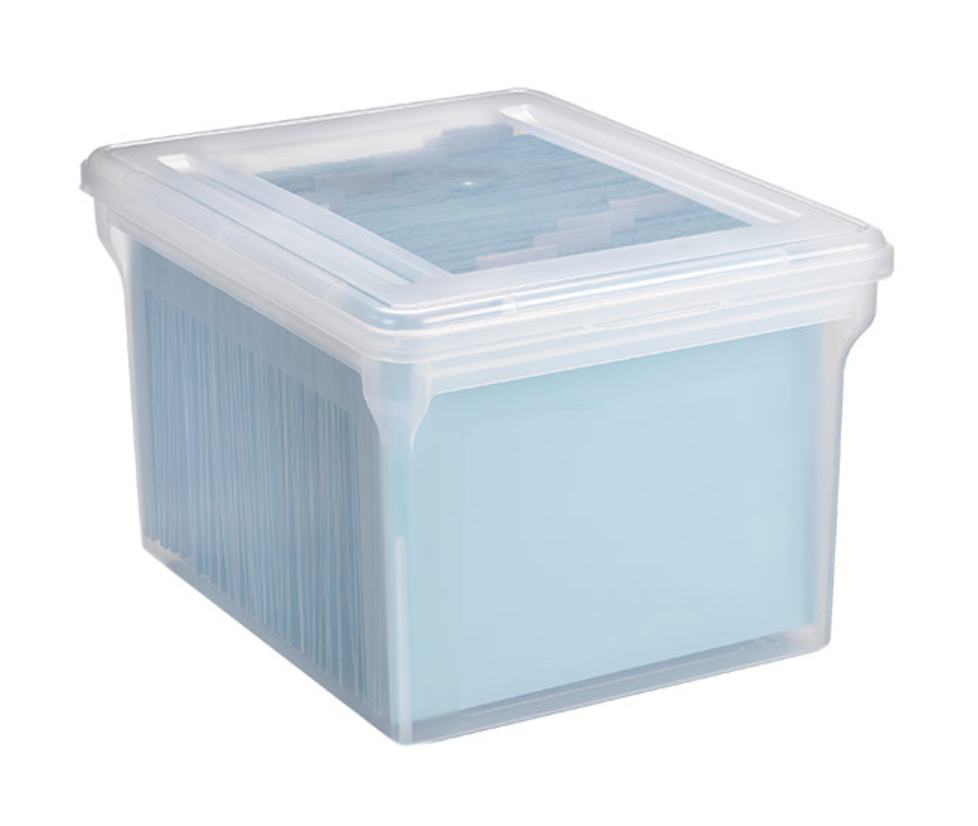
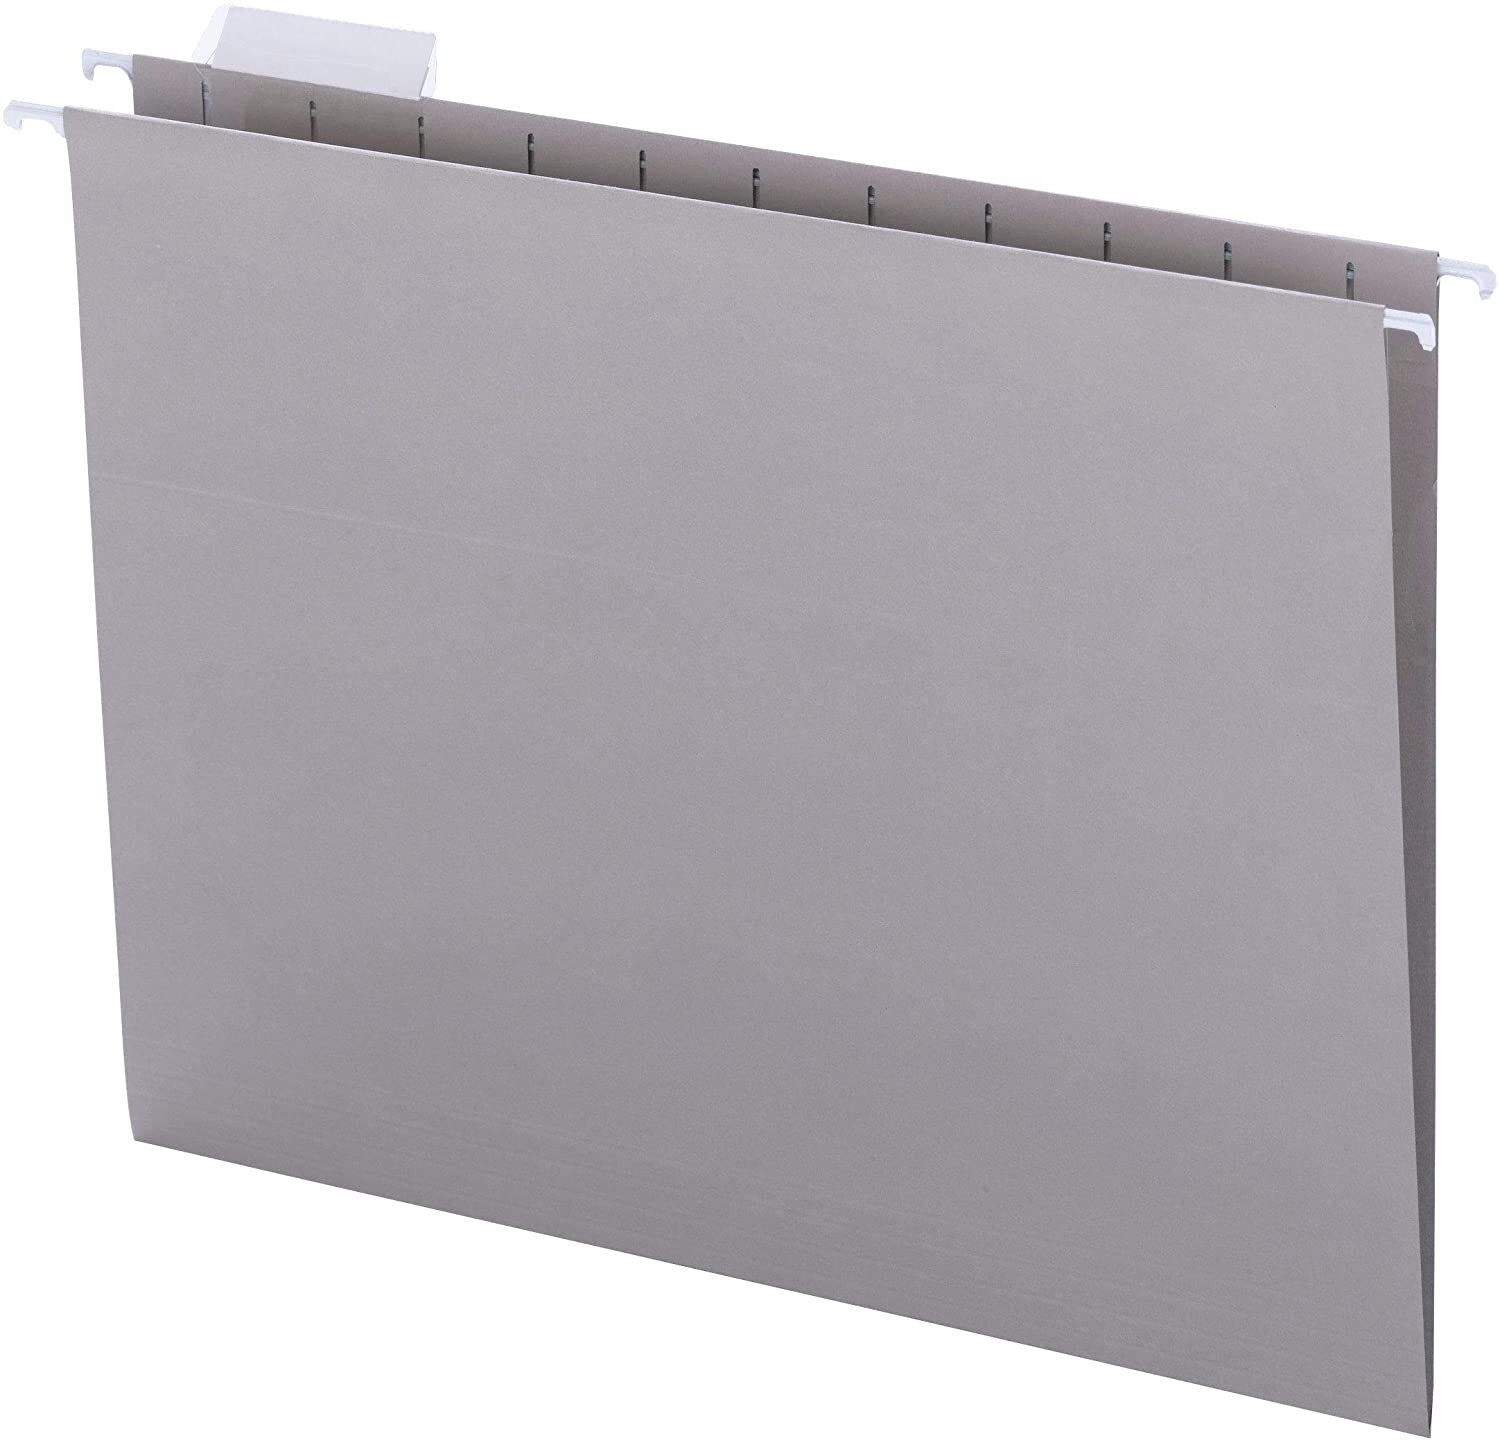
Place the 19 hanging file folders into your box. Each hanging file represents a year of your child’s life while they are in your home. Depending on when your child begins kindergarten, the “5 year old” file may be unnecessary. I have my box divided into the following 19 sections:
Your First Year
1 Year Old
2 Years Old
3 Years Old
4 Years Old
5 Years Old
Kindergarten
1st Grade
2nd Grade
3rd Grade
4th Grade
5th Grade
6th Grade
7th Grade
8th Grade
9th Grade
10th Grade
11th Grade
12th Grade
Step 3

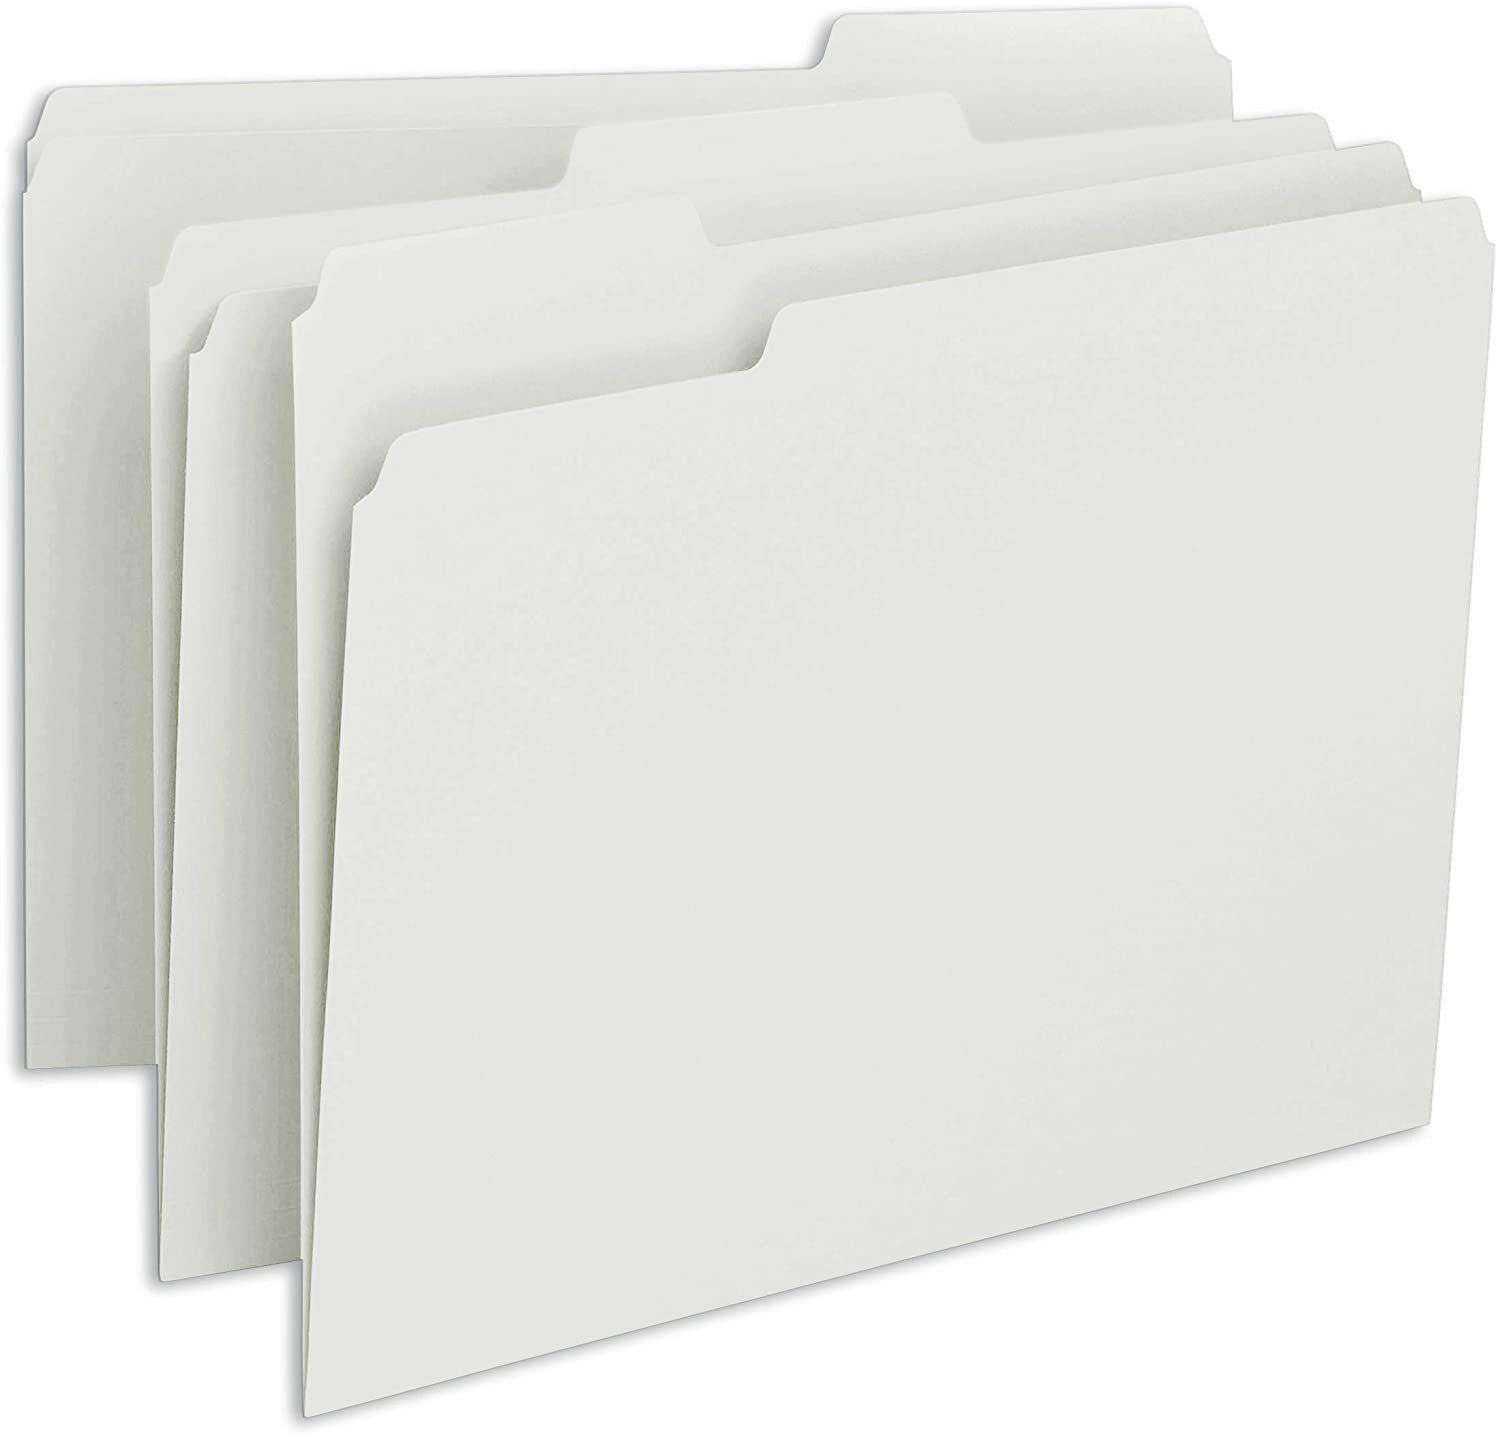
Place 2 file folders into each hanging file folder. The front file folder will store your child’s important papers: medical documents, report cards, birthday cards, class picture, etc. The second file will store your child’s artwork/classwork.
Step 4
Create and print your labels. Using the Avery File Folder labels, I created labels for the white file folders. You can download and print one of options I’ve created, or you can create your own!
Option 1 (blue with white lettering) - click HERE to download
Option 2 (white with gray lettering) - click HERE to download
Step 5

Apply each label to the appropriate file folder. In the first hanging file folder, place a “Your First Year” label on both of the white file folders. Continue applying the labels on each white file folder moving from the front of the box to the back of the box.
Step 6
If you haven’t ordered your vinyl name decals, go ahead and place that order! Once they arrive, apply the decal to your child’s box.
Step 7

Start collecting your child’s keepsakes and fill up the box as your child grows!